

How to Bake Your First Loaf and Revive a Dried Starter
At The Fillingame Homestead, we believe that real food begins with simple ingredients and patient, hands-on preparation. Sourdough is one of the most rewarding skills you can bring into your kitchen. This guide brings together two essential pieces for beginners. First, a simple sourdough recipe designed to help you get a win on your first try. Second, a step by step method for reviving a dried sourdough starter so you can keep your baking journey going.
Both parts work together to give you confidence as you learn.
Tools You Will Need
These tools can be found on Amazon through the links provided.
• 9 inch round proofing basket, for boule Buy it here.
• Escali digital scale. Buy it here.
• Instant read thermometer. Buy it here.
• 5.5 qt Dutch oven (I use regular cast Iron). Buy it here.
• Pizza peel. Buy it here.
• Stainless or glass mixing bowl (I prefer Glass). Buy it here.
• Bench scraper. Buy it here.
• Bread knife. Buy it here.
• Bread lame. Buy it here.
Using the right tools helps ensure consistent results and makes the process more enjoyable
The Sourdough Recipe
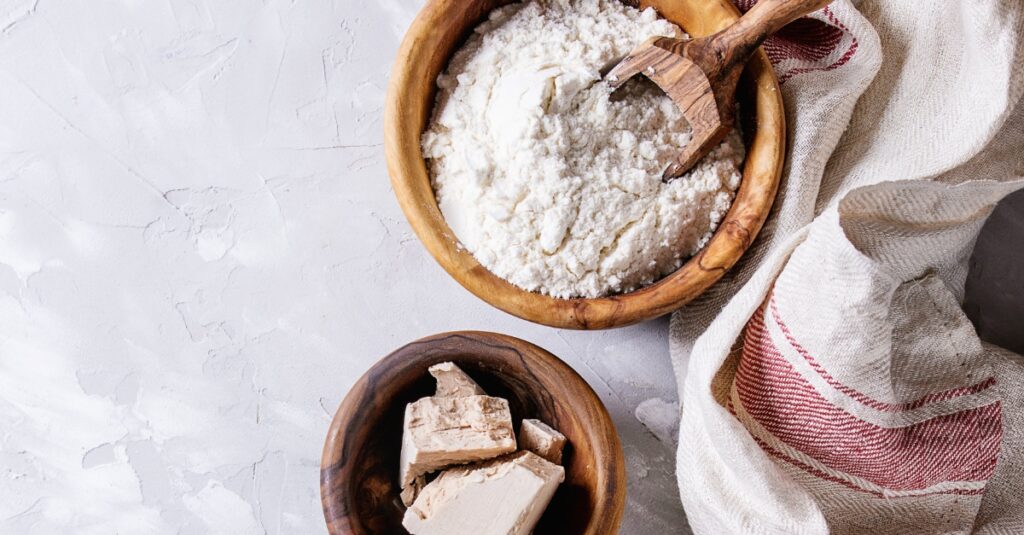
Measurements in grams are strongly recommended for accuracy.
1. Build the Leaven
• 100 g room temperature water
• 25 g ripe sourdough starter
• 100 g bread flour
Mix in a tall container. Cover lightly and ferment for 12 hours. Perform a float test if you wish to check readiness.
2. Mix the Dough
• 310 g warm water
• 200 g leaven
• 400 g all purpose flour
• 50 g whole wheat flour
• 12 g salt
Combine everything into a shaggy dough. Continue mixing with a wet hand for 2 or 3 minutes. Cover the bowl and begin bulk fermentation.
3. Bulk Fermentation
Place the dough in a warm area for 30 minutes, then complete one set of strength-building folds.
After another 30 minutes, repeat the folds.
Continue fermenting for 2 more hours.
4. Shape the Dough
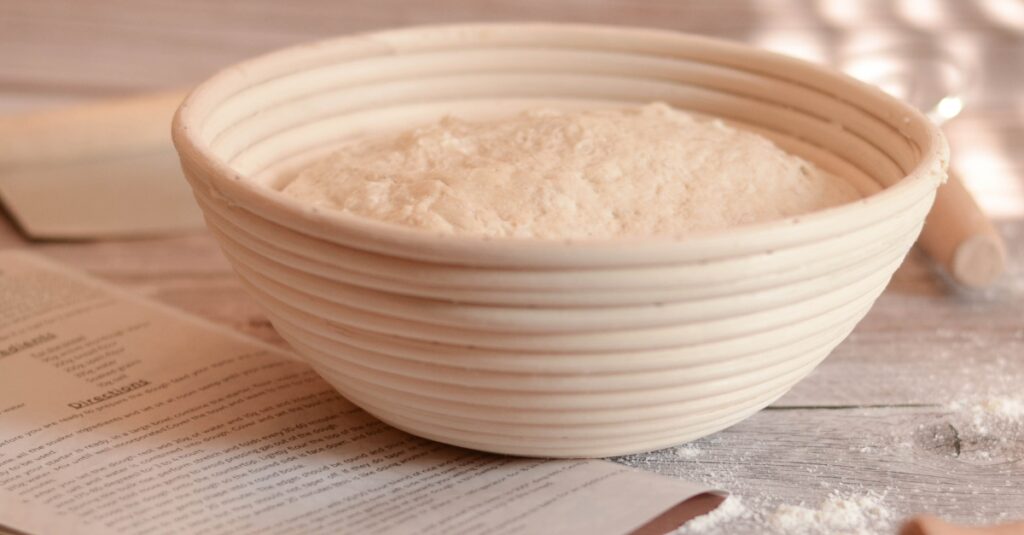
Lightly flour your work surface. Place the dough down and perform stretch and folds for several minutes. Transfer the dough into a floured proofing basket with the seam facing up.
5. Final Rise
Let rise at room temperature for about 90 minutes. When lightly pressed, the dough should hold an indent briefly before slowly returning.
6. Bake
Preheat your Dutch oven at 500 F for 30 to 45 minutes.
Flip the dough onto parchment paper, score the top, and place it into the hot Dutch oven.
• Bake at 485 F for 18 minutes covered
• Uncover and bake at 465 F for 25 minutes
Your loaf will stay fresh for about three days. Freeze extra loaves and reheat at 325 F for 20 to 30 minutes to revive the crust.
Look what you made. You are becoming unstoppable.
How to Revive a Dried Sourdough Starter
A step by step method to bring your starter back to full strength
If you purchased our dried sourdough starter or saved some for later use, this guide will help you reactivate it. Depending on weather and humidity, results can appear in less than a week, though some starters may take longer. Stay consistent. The process always rewards patience.
Ingredients
• 5 g dried sourdough starter
• 120 g unbleached bread flour, divided
• 125 g filtered water at room temperature
Reviving the Starter
A clear step by step guide
Day One Morning
Place 5 grams of finely crumbled dried starter in a small glass jar. Add 25 grams of warm filtered water and stir until the starter is fully submerged. Cover and let it sit for 1 hour at room temperature.
After one hour, add 20 grams of bread flour and mix well. This first feeding uses slightly more water than flour to help activate natural yeast and bacteria. Cover the jar and let it rest for 24 hours.
Day Two Morning
Take 10 grams of the mixture and discard the rest. Add 25 grams of bread flour and 25 grams of room temperature filtered water. Mix until smooth. Cover and let rest for 24 hours.
Day Three Morning
Repeat the exact process from Day Two. Combine 10 grams of starter with 25 grams flour and 25 grams water. Mix well, cover, and rest for 24 hours.
Day Four Morning
Feed the starter again using 10 grams of the mixture, 25 grams of bread flour, and 25 grams of water. Mix well, cover, and let rest for about 12 hours.
Day Four Evening
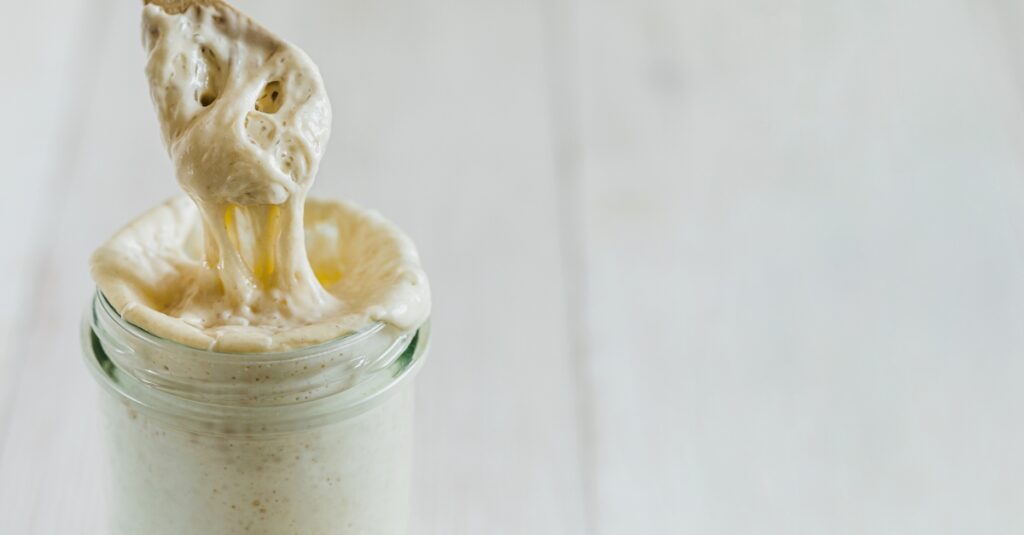
After approximately 12 hours, you should begin to see signs of activity. Small bubbles will form on the surface and sides of the jar. The starter should look slightly risen. Keep it at room temperature and allow it to continue developing.
Day Five Morning
By now the starter should be close to doubling in volume. You will see both small and larger bubbles throughout the mixture. Allow the starter to reach its peak height before feeding again. Once it reaches peak activity, it is ready to use.
Daily Feeding Routine
After the starter is revived, maintain it with regular feedings. Combine 5 to 10 grams of starter with 25 grams of bread flour and 25 grams of room temperature filtered water. Mix well, cover, and allow it to rise to its peak before feeding again.
Your restored starter will become stronger and more active each day.
From Our Homestead to Your Home
Sourdough brings together patience, nourishment, and the comfort of a handmade home. At The Fillingame Homestead, every recipe is created with purpose, inspired by Tonia’s path into natural living and her belief that true healing and connection begin with simple practices.
If you would like to explore more guides or browse our natural products, visit our full product collection. We are here to support you as you grow in confidence and learn to create more from scratch.
Nutrition Information
Serving: 1 serving · Calories: 438 kcal · Carbohydrates: 88 g · Protein: 15 g · Fat: 2 g · Saturated Fat: 1 g · Polyunsaturated Fat: 1 g · Monounsaturated Fat: 1 g · Sodium: 9 mg · Potassium: 120 mg · Fiber: 3 g ·
Sugar: 1 g · Vitamin A: 2 IU · Calcium: 22 mg · Iron: 1 mg
Responses